在这篇文章中我们会学习到关于“element-ui的动态换肤怎么实现,实际应用是怎样”的知识,小编觉得挺不错的,现在分享给大家,也给大家做个参考,希望对大家学习或工作能有帮助。下面就请大家跟着小编的思路一起来学习一下吧。
1、在安装好element-ui@2.x 以后,首先安装sass-loader
npm i sass-loader node-sass -d
2、安装element-theme
npm i element-theme -d
3、安装theme-chalk
npm i element-theme-chalk -d
# or from github
npm i https://github.com/elementui/theme-chalk -d
4、初始化变量文件
et -i // 默认的文件是element-variables.scss,也可以自定义文件名 et --init [file path]
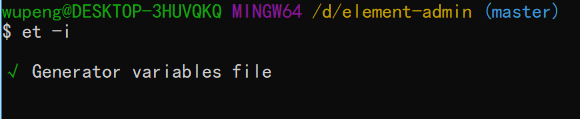
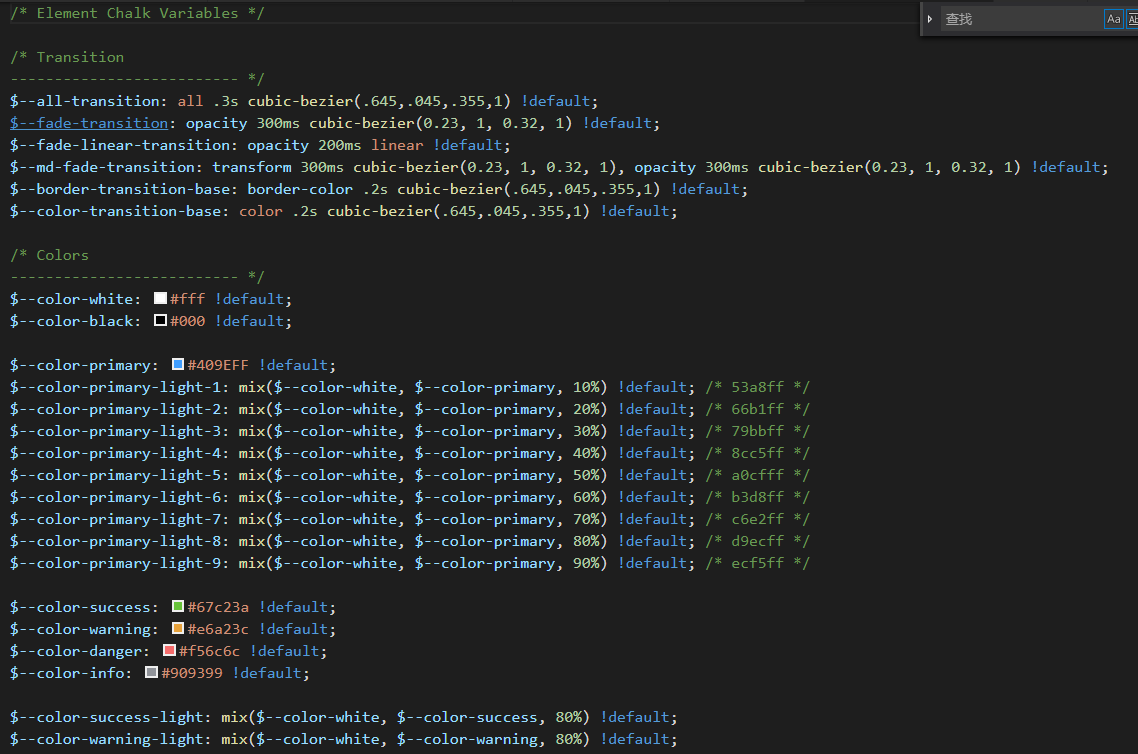
安装成功以后,在项目里会自动生成一个element-variables.scss 文件,如下图:
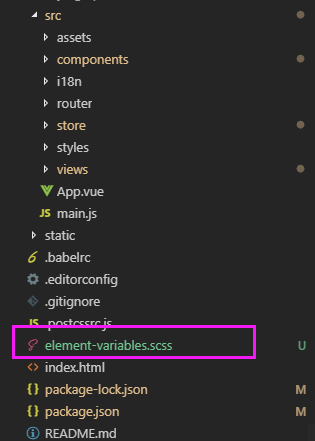
里面定义的是所有的颜色变量
当然,这一步也有可能失败,命令行提示找不到et 这个命令。这个时候需要按照步骤一,重新装一下sass-loader

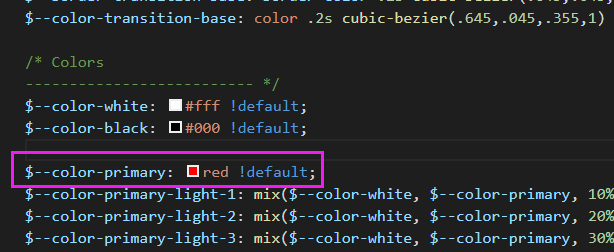
5、修改变量
直接编辑 element-variables.scss 文件,例如修改主题色为红色
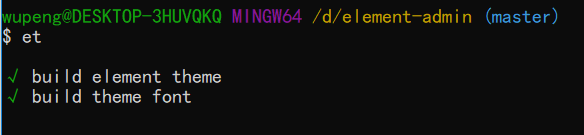
6、编译主题
保存文件后,到命令行里执行 et 编译主题,如果你想启用 watch 模式,实时编译主题,增加 -w 参数;如果你在初始化时指定了自定义变量文件,则需要增加 -c 参数,并带上你的变量文件名
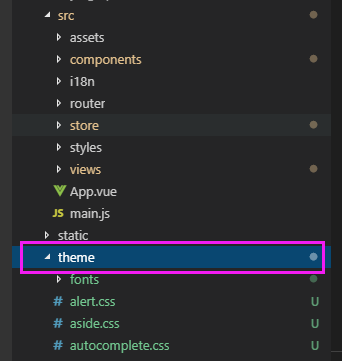
此时,项目中会自动生成一个theme文件夹,里面是编译后所有的字体文件和样式文件
7、引入自定义主题
默认情况下编译的主题目录是放在 ./theme 下,你可以通过 -o 参数指定打包目录。像引入默认主题一样,在代码里直接引用 theme/index.css 文件即可。
import '../theme/index.css'
import elementui from 'element-ui'
import vue from 'vue'

vue.use(elementui)
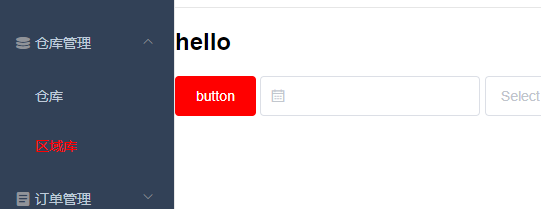
启动项目,会发现原来默认的蓝色会变成红色
官网提供的这种方法仅适用于一次性的更改全局主题颜色,如果想实现官网2.0版本右上角,使用 colorpicker 颜色选择器 动态换肤。那么建议参考vue-element-admin,作者的 《手摸手,带你用vue撸后台》系列文章非常精彩
themepicker.vue
<template>
  <el-tooltip effect="dark" content="theme" placement="bottom">
    <el-color-picker
    v-model="theme"
    class="theme-picker"
    size="small"
    popper-class="theme-picker-dropdown"/>
  </el-tooltip>
</template>
<script>
const version = require('element-ui/package.json').version // element-ui version from node_modules
const original_theme = '#409eff' // default color
export default {
  data() {
    return {
      chalk: '', // content of theme-chalk css
      theme: original_theme
    }
  },
  watch: {
    theme(val, oldval) {
      if (typeof val !== 'string') return
      const themecluster = this.getthemecluster(val.replace('#', ''))
      const originalcluster = this.getthemecluster(oldval.replace('#', ''))
      console.log(themecluster, originalcluster)
      const gethandler = (variable, id) => {
        return () => {
          const originalcluster = this.getthemecluster(original_theme.replace('#', ''))
          const newstyle = this.updatestyle(this[variable], originalcluster, themecluster)
          let styletag = document.getelementbyid(id)
          if (!styletag) {
            styletag = document.createelement('style')
            styletag.setattribute('id', id)
            document.head.appendchild(styletag)
          }
          styletag.innertext = newstyle
        }
      }
      const chalkhandler = gethandler('chalk', 'chalk-style')
      if (!this.chalk) {
        const url = `https://unpkg.com/element-ui@${version}/lib/theme-chalk/index.css`
        this.getcssstring(url, chalkhandler, 'chalk')
      } else {
        chalkhandler()
      const styles = [].slice.call(document.queryselectorall('style'))
        .filter(style => {
          const text = style.innertext
          return new regexp(oldval, 'i').test(text) && !/chalk variables/.test(text)
        })
      styles.foreach(style => {
        const { innertext } = style
        if (typeof innertext !== 'string') return
        style.innertext = this.updatestyle(innertext, originalcluster, themecluster)
      })
      this.$message({
        message: '换肤成功',
        type: 'success'
  methods: {
    updatestyle(style, oldcluster, newcluster) {
      let newstyle = style
      oldcluster.foreach((color, index) => {
        newstyle = newstyle.replace(new regexp(color, 'ig'), newcluster[index])
      return newstyle
    },
    getcssstring(url, callback, variable) {
      const xhr = new xmlhttprequest()
      xhr.onreadystatechange = () => {
        if (xhr.readystate === 4 && xhr.status === 200) {
          this[variable] = xhr.responsetext.replace(/@font-face{[^}]+}/, '')
          callback()
      xhr.open('get', url)
      xhr.send()
    getthemecluster(theme) {
      const tintcolor = (color, tint) => {
        let red = parseint(color.slice(0, 2), 16)
        let green = parseint(color.slice(2, 4), 16)
        let blue = parseint(color.slice(4, 6), 16)
        if (tint === 0) { // when primary color is in its rgb space
          return [red, green, blue].join(',')
        } else {
          red += math.round(tint * (255 - red))
          green += math.round(tint * (255 - green))
          blue += math.round(tint * (255 - blue))
          red = red.tostring(16)
          green = green.tostring(16)
          blue = blue.tostring(16)
          return `#${red}${green}${blue}`
      const shadecolor = (color, shade) => {
        red = math.round((1 - shade) * red)
        green = math.round((1 - shade) * green)
        blue = math.round((1 - shade) * blue)
        red = red.tostring(16)
        green = green.tostring(16)
        blue = blue.tostring(16)
        return `#${red}${green}${blue}`
      const clusters = [theme]
      for (let i = 0; i <= 9; i++) {
        clusters.push(tintcolor(theme, number((i / 10).tofixed(2))))
      clusters.push(shadecolor(theme, 0.1))
      return clusters
  }
}
</script>
navbar.vue
<template>
  <el-menu class="navbar" mode="horizontal">
    <hamburger
      class="hamburger-container"
      :toggleclick="togglesidebar"
      :isactive="!sidebar.opened">
    </hamburger>
    <div class="right-menu">
      <screenfull class="screenfull"></screenfull>
      <div class="lang">
        <el-dropdown>
          <i class="iconfont icon-language4"></i>
          <el-dropdown-menu slot="dropdown">
            <el-dropdown-item @click.native="togglelang('zh')" :disabled="$i18n.locale == 'zh'">中文</el-dropdown-item>
            <el-dropdown-item @click.native="togglelang('en')" :disabled="$i18n.locale == 'en'">english</el-dropdown-item>
          </el-dropdown-menu>
        </el-dropdown>
      </div>
      <theme-picker></theme-picker>
    </div>
  </el-menu>
</template>

以上demo代码地址:https://github.com/frwupeng517/element-admin
element-ui 官方文档地址:http://element-cn.eleme.io/#/zh-cn/component/custom-theme
panjiachen git地址:https://github.com/panjiachen/vue-element-admin
关于“element-ui的动态换肤怎么实现,实际应用是怎样”的内容就介绍到这,感谢各位的阅读,相信大家对element-ui的动态换肤怎么实现,实际应用是怎样已经有了进一步的了解。大家如果还想学习更多知识,欢迎关注群英网络,小编将为大家输出更多高质量的实用文章!
免责声明:本站发布的内容(图片、视频和文字)以原创、转载和分享为主,文章观点不代表本网站立场,如果涉及侵权请联系站长邮箱:mmqy2019@163.com进行举报,并提供相关证据,查实之后,将立刻删除涉嫌侵权内容。

2022-12-14 11:21:38
2022-08-19 17:53:01
2022-08-19 17:51:59
2022-02-25 17:19:26
2022-01-24 19:23:44
2022-01-04 18:53:44
2022-01-26 18:39:38
2021-11-20 17:46:01
2022-01-18 18:00:09
2022-01-13 18:58:11
2022-01-24 19:23:57
2021-11-22 17:53:55
2021-11-20 17:45:40